Strawberry Guava Chiffon Cake
HAPPY SUNDAY, in fact, happy Sunday, afternoon!! I made a promise on Friday to share this today, Sunday, but then life and fun got in the way and I almost broke my promise. PHEW, I didn't!! And hooray for that cause I'm so excited to share this strawberry guava chiffon cake with you!! This is one of those recipes that's been in the works for a while. Remember this pavlova? That's about the time I started working on today's cake. But here's the thing, I was so set on making it the way I remember making it, with the can of frozen strawberry guava concentrate, and when I wasn't able to find it anywhere, I pretty much gave up. ( Side note: thanks to everyone who sent me recommendations of places to find if!!) I really wouldn't have shared this with you today, had it not been for the amazing woman behind Two Red Bowls, Cynthia, because she gave me the tip of all tips, which was to, DUH, make my own concentrate!! Thanks so much for knocking some sense into me, Cynthia!!
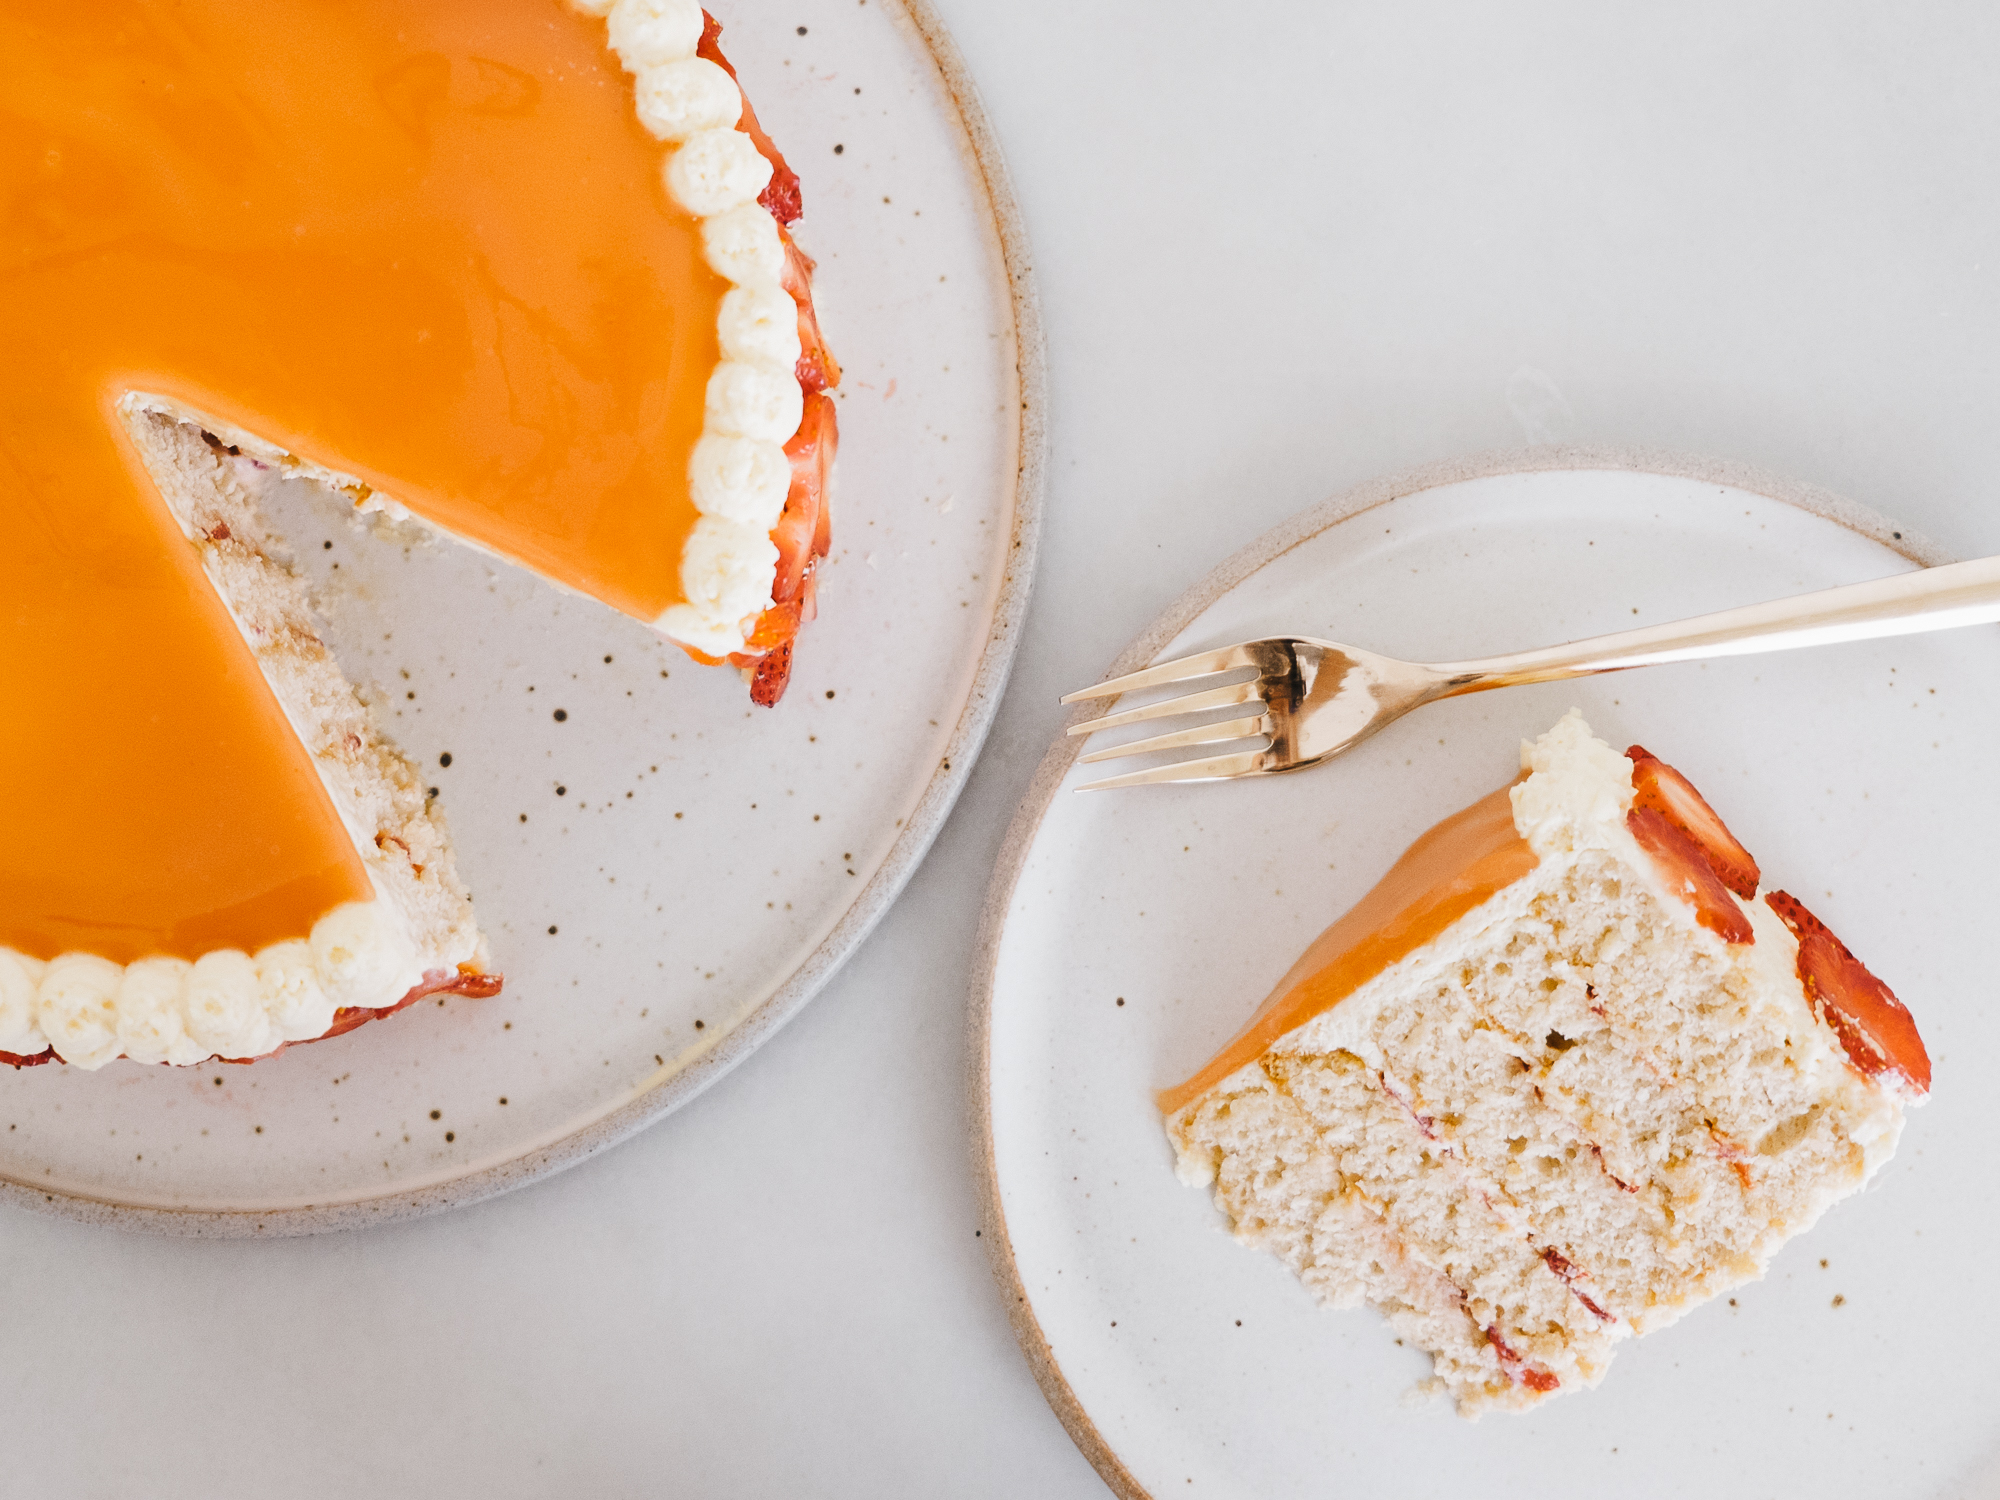
Below you'll find what looks to be a pretty lengthy recipe. DON'T FRET. My friend Jackie always teases me 'cause I always tell her how easy it is to make this or that. She never believes me UNTIL she tries it. Half the battle with baking is working up the courage to just do it. SOOO...just trust me when I say this cake's super simple and you'll be wow-ing all you friends and fam when you slice it up, cause SURPRISE (!!), there are vertical lines in there. This method came to me via Betty at Le Jus d'Orange and she's got loads of photos illustrating the process here. Not gonna lie, this cake's gonna take a bit of time, but most of it's hands off! More than anything, it requires a lot of cooling and chilling time, which means you've got time to do some dishes, catch up on your DVR'd American Ninja Warrior episodes, if you're a dork like me, or maybe read about The Life Changing Magic of Tidying Up? Regardless of what you choose to do, you've got time. This is not labor intensive but it sure looks like it is, and I won't tell if you won't!


Besides the fact that this recipe took a couple months to come to full fruition, strawberry guava chiffon is near and dear to my heart because it reminds me of my childhood. For those of you who aren't familiar with chiffon cake, it's a light, airy, spongy cake (think angel food or sponge cake) and is mega popular in Hawaii. I remember thinking it was such a treat to pick up a cake from Shirokiya, when I was a child. Anyway, strawberry guava chiffon cake's pretty much the culmination of all my favorites and, is clearly the best way to end this week of Hawaii feasting!


Strawberry Guava Chiffon Cake
Adapted from GUAVA ROSE, rolling method from LE JUS D'ORANGE
Makes 1 vertical roll cake
INGREDIENTS
GUAVA NECTAR CONCENTRATE
64 oz. (1 carton) guava nectar juice (I used Sun Tropics)
CHIFFON CAKE
4 large egg whites, at room temperature
1/4 tsp. cream of tartar
1/2 c. + 3/4 c. sugar
1-1/2 c. cake flour
1/2 tsp. sea salt
1-1/2 tsp. baking powder
1/4 c. vegetable oil
3 large egg yolks
3/4 c. guava nectar concentrate
1-1/2 tsp. vanilla
GUAVA WHIPPED CREAM
2 c. heavy whipping cream
1/2 c. guava nectar concentrate
GUAVA GLAZE
3/4 c. guava nectar concentrate
1 Tbsp. cornstarch
FILLING/GARNISH
10 fresh strawberries, hulled and thinly sliced, crosswise
10 fresh strawberries, hulled and thinly sliced, vertically
TOOLS
Stand mixer
Rimmed baking sheet (18" x 13" x 1" high)
Parchment paper
Silicone spoonula/wooden spoon
Whisk
Large pot
Small saucepan
Measuring cups and spoons
Glass measuring cup (for liquids)
Cooling rack
Tea Towel
Sharp knife
Mixing bowls
Offset spatula
Piping bag fitted w/round tip
FIX
GUAVA NECTAR CONCENTRATE
Pour entire carton of guava nectar juice into a large pot and heat on high until reduced down to 3 cups (reduced down to less than half). Should take 20-30 minutes. Cool at room temperature, then transfer to a covered vessel for storage and move to fridge to chill completely.
CHIFFON CAKE
Butter a rimmed baking sheet, then line the bottom with parchment paper. Trim edges to fit bottom. Preheat the oven to 350° F.
In the bowl of a stand mixer, fitted with a whisk attachment, whisk the egg whites at medium speed until they become a little frothy, then add the cream of tartar. Continue on whisking on medium for 2 to 3 minutes medium speed or until the volume has doubled. Once doubled, increase speed to high and slowly stream in 1/2 cup granulated sugar, while keeping the mixer on. Continue whipping until soft peaks that can hold their shape form (about a minute). Reserve for use later.
In a medium mixing bowl, whisk together flour, 3/4 cup granulated sugar, baking powder, and salt. Add in oil, egg yolks, guava nectar concentrate, and vanilla extract. Whisk until thoroughly combined, about 2 to 3 minutes.
Add 1/4 of the egg whites to the flour mixture and gently fold in. Think about drawing a 'J' as you fold the egg whites in and turn your bowl a quarter turn each time. Repeat 3 more times until all the eggs whites have been gently folded in. The batter should be a uniform color. You shouldn't see any white streaks after all the egg whites have been folded in. If necessary, use your spatula to gently spread/blend any white streaks into the batter, being careful to not to stir (as this would deflate the air bubbles you worked so hard to create earlier).
Pour batter into the prepared cake pan. Bake for 15-16 minutes, or until toothpick inserted into the center comes out clean.
Let cool in pan for 5 minutes, then lightly dust top of cake with powdered sugar before inverting onto a clean, tea towel. Remove parchment paper then lightly dust that side of the cake with powdered sugar. Gently roll, starting from the shorter edge, to create a very loose roll. This shapes the cake without causing any cracks. Cool completely at room temperature.
GUAVA WHIPPED CREAM
Whip the cream in an electric mixer until barely stiff. Add the guava nectar concentrate and whip until stiff. Transfer to the refrigerator to chill until ready to use.
GUAVA GLAZE
In a small saucepan, whisk cornstarch into the nectar concentrate. Turn on to medium-high and cook until thickened and bubbling, this should happen quickly (1-2 minutes). Make sure to whisk frequently to prevent clumps. Allow to cook one more minute. Immediately remove from heat and pour into a shallow bowl to cool mixture to room temperature. This will take around 20 to 30 minutes. Cover with plastic wrap and chill about 20 minutes, until it is the consistency of thickened gelatin—no firmer.
ASSEMBLY
When cake roll is at room temperature, gently unroll it then cut cake into 4 even strips (using a sharp knife), cutting lengthwise (hotdog style). I recommend using a ruler for best results. Separate strips, to make sure they aren't stuck to the tea towel and to avoid placing strawberries on the edges of your strips.
Spread a thin layer of guava whipped cream across the surface with your offset spatula. Evenly distribute a layer of strawberry slices (cut crosswise).
Starting with one strip, roll inward. When you get to the end of your first roll, simply pick it up and place it right on top of the edge of the next strip. Roll the new strip over the roll you have already created. Repeat with every strip. Soon, your roll will be big enough that a new strip won’t even cover one circumference of the roll.
When you’ve reached the last roll, simply gently tip it over roll and place it on its circle-face on a platter or cake stand.
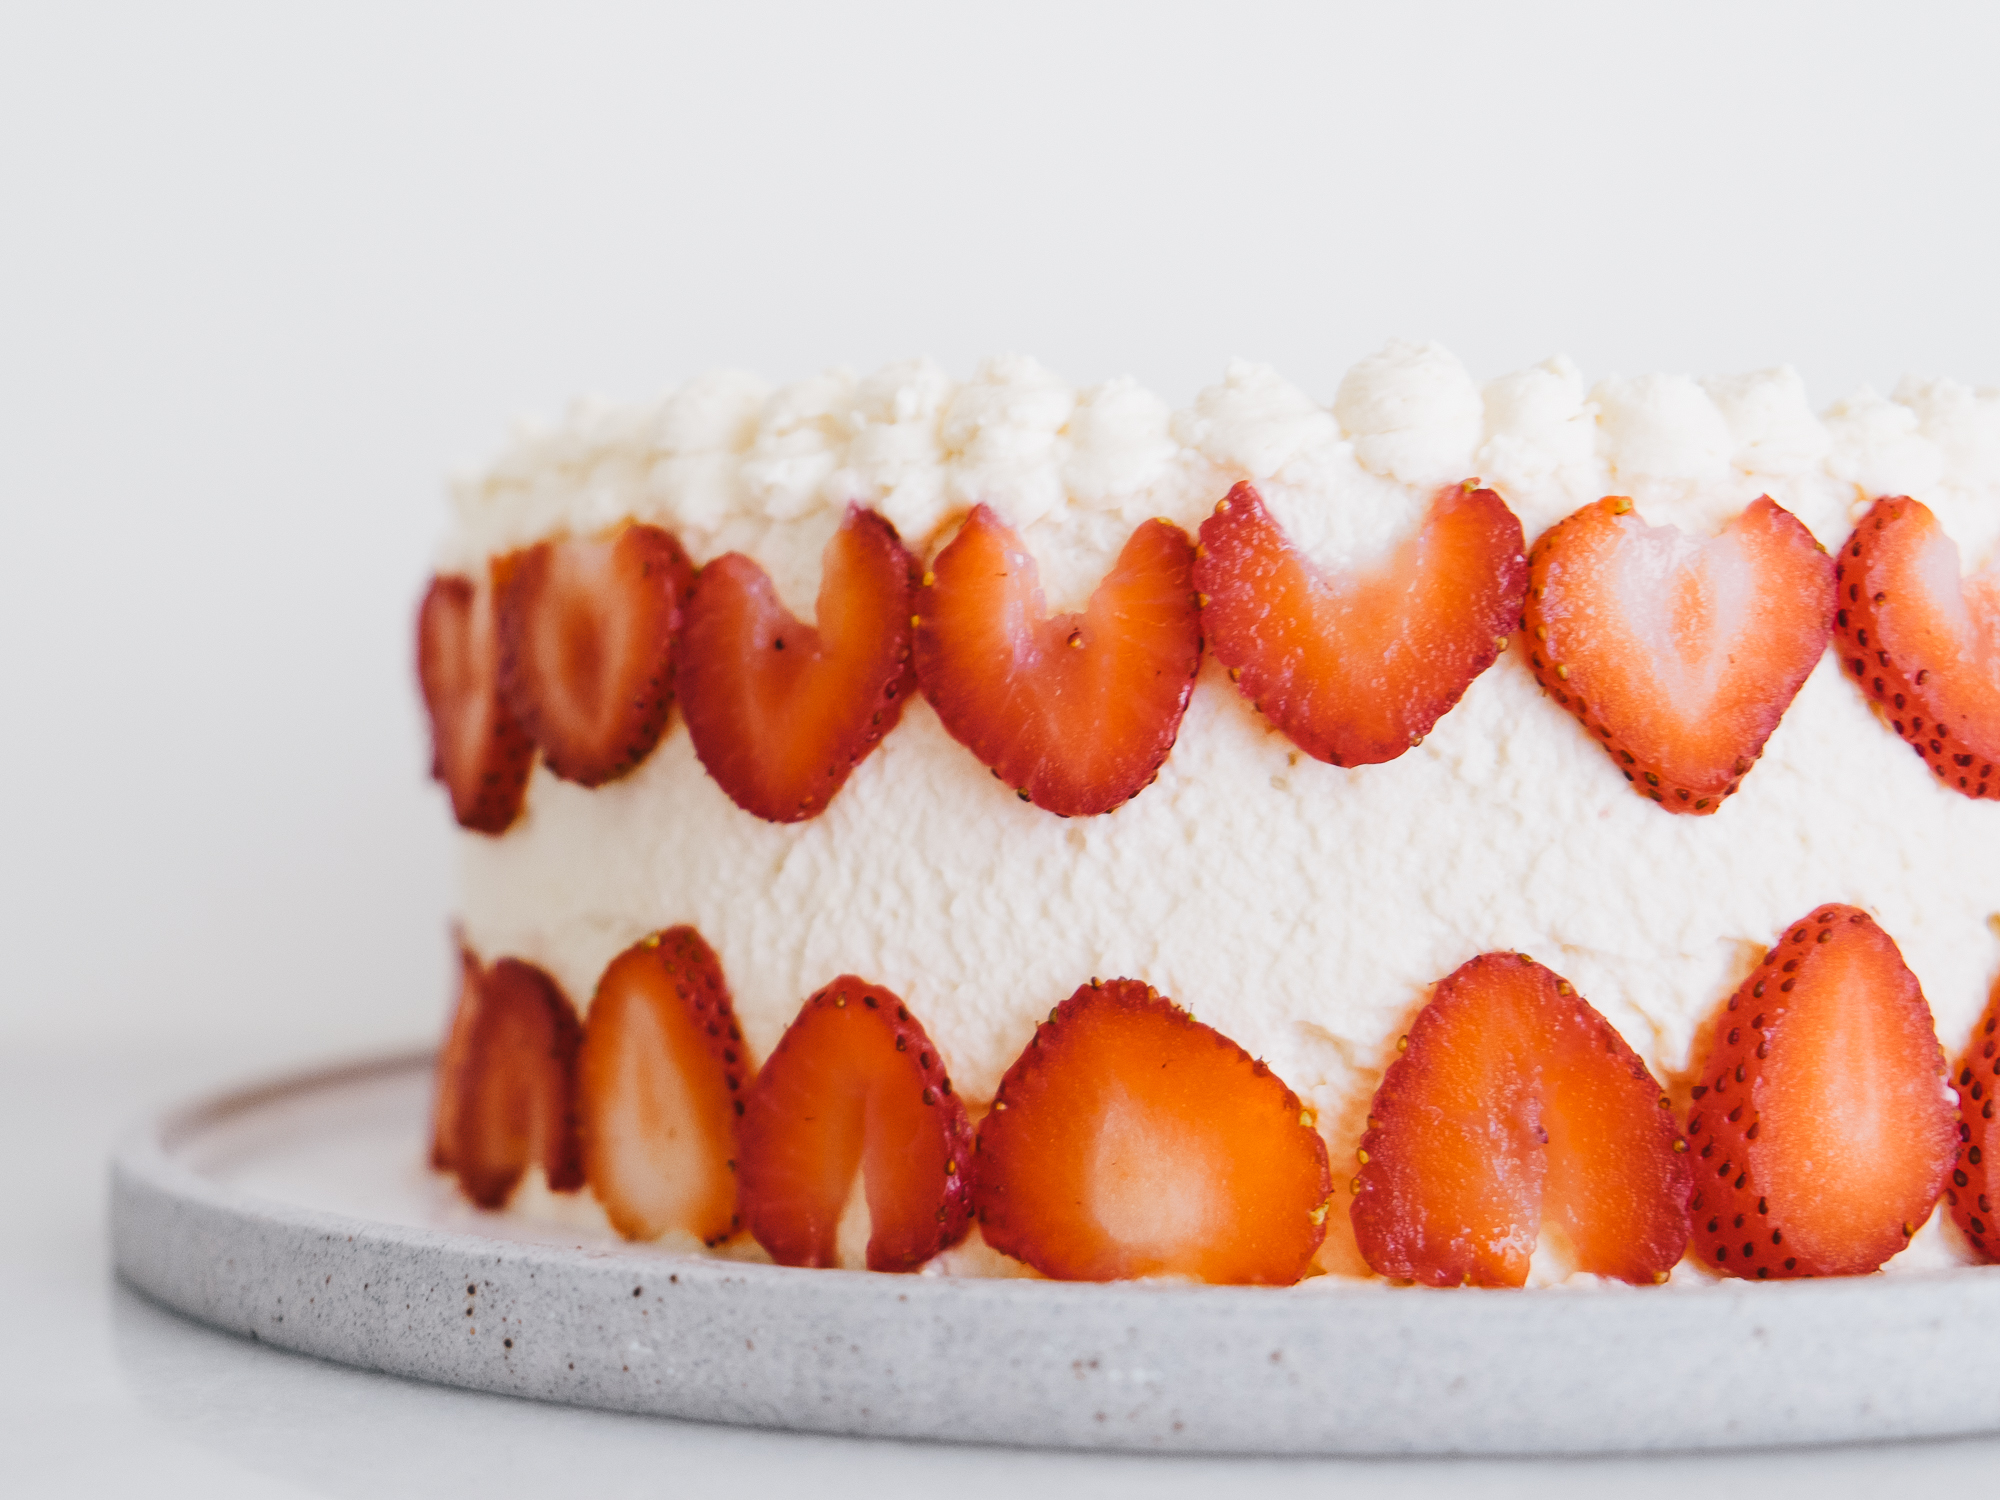
Finish by frosting all over with guava whipped cream, using an offset spatula. Be sure to reserve a few tablespoons of whipped cream to pipe onto the top edge. Spoon remaining whipped cream into piping bag (fitted with round tip) and gently pipe dots onto the top edge of the cake. Refrigerate for 30 minutes.
Quickly whisk up the chilled guava glaze. Pour glaze in a stream over the middle of the top of the cake. Using an offset spatula, gently smooth to edge being careful not to get any whipped cream into the glaze.
Decorate bottom edges of cake with fresh strawberry slices (cut vertically).
Cover and chill for at least 2 hours before serving.
Serve and enjoy!