Alfajores
DECEMBER IS HERE!!! Can you even believe it? I feel like it was July a week ago, and I blame this on both the crazy warm LA weather as well as the general pace of this year (the pace is really, really fast). And yet, somehow, none of that really matters now because it's CHRISTMAS MUSIC TIME a.k.a. my favorite time of the year and Moses' not so favorite time of the year (25+/- days of nonstop Christmas music isn't for everyone, I get it). So, trust me when I say it's officially time to start blasting Mariah's Merry Christmas (not to be confused with Merry Christmas II You--don't make the mistake of playing that one if you're craving the og Christmas album--welp!!). Feel free to sprinkle in some N*Sync Home For Christmas and follow it up with a dash of 98 Degrees This Christmas, then excuse me while I recover from having dated myself (yes, I had a crush on Justin, yes, I wanted to be Mariah at some point in time: think early '90s not '01 post Glitter, and yes I'm fricken old!!). Most important thing to do now that it's December is to stock up on butter, eggs, sugars, and flours and get ready to bake a lot of cookies!!
Super pumped that this year is my second annual 12 Days of Cookies and I am so excited to be sharing it here with all of you! I'll be introducting a new cookie every day starting today, December 1, through the 12th, so feel free to pop on over if you're looking for some cookie inspo, craving something sweet, or simply in the mood for something festive because I'm all about Christmas cookies for the next week and a half or so. I'm also kicking off FLAIR!! Yes, FLAIR as in Fix Feast FLAIR. It's taken me a minute (ok, seven months), so I apologize for any confusion but I'm finally ready to share some FLAIR with all of you. And it'll be coming to you in the form of snazzy packaging ideas for your favorite Christmas cookies. Since the gift giving season has finally arrived, I thought there'd be no better time to introduce FLAIR. Check back later today for the first post on how to package today's cookies!


Up first for my 12 Days of Cookies are Alfajores!! If you haven't heard of them, don't worry, I'm here to help bring you up to speed on these wonderfully buttery dulce de leche sandwiches. You can think of them as the French Macaron's South American cousin if that makes things easier. And while they may resemble French Macarons, that's where the similarities end. There are many variations of these beauties but I'll be sharing my take on the Peruvian version with you today. These cookies consist of two delicate, fine, and crumbly cookies, sandwiched together by a healthy dose of dulce de leche. The secret to that crumble? Cornstarch (yeah, yeah, yeah Mom, I know it's not good for you, but it makes for the most perfect crumb, so let's just let it slide, please!). As if the original version wasn't decadent enough, I followed mine up with even more dulce de leche, and a healthy dose of sprinkles and toasted coconut. Feel free to do the same or dip them in chocolate if you're feeling ambitious.
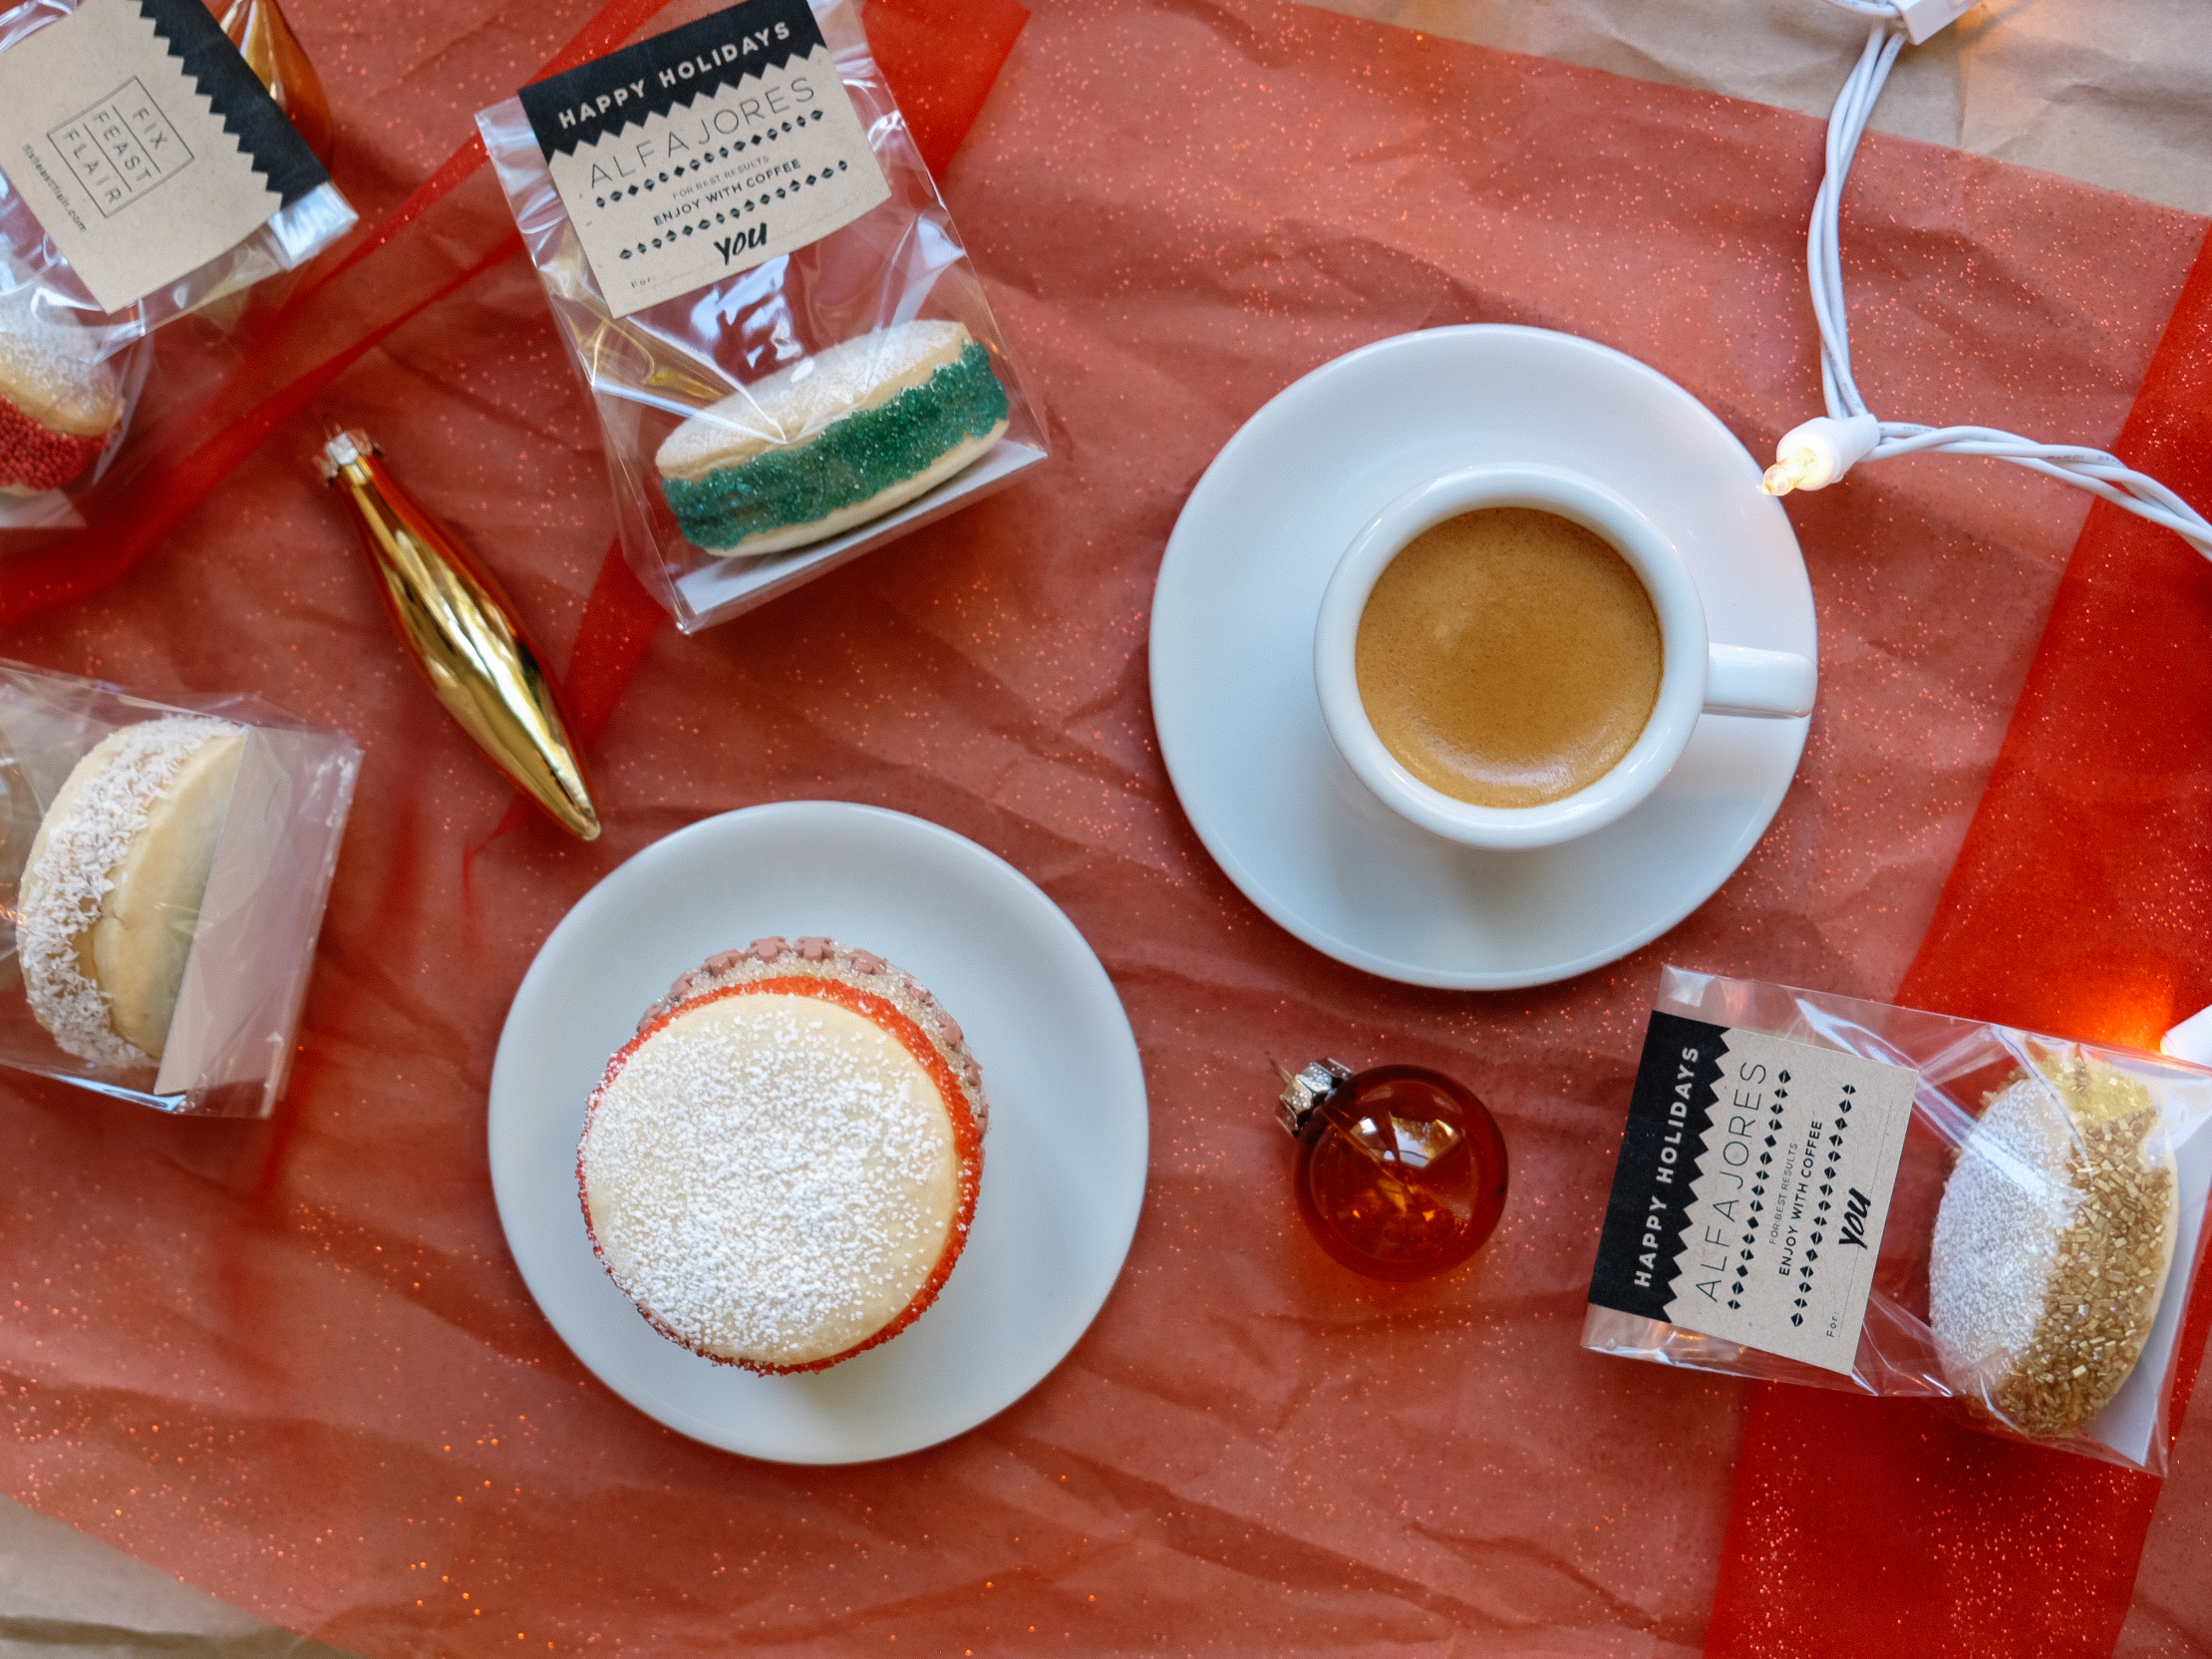

These cookies are as beautiful as they are tasty, so whatever you do, don't forget to check back later for a how to on packaging these little cuties so you can share some with your friends and family!!

INGREDIENTS
- 1 c. cornstarch
- 3/4 c. all-purpose flour, plus more for rolling out dough
- 1 tsp. baking powder
- 1/2 tsp. baking soda
- 1/4 tsp. salt
- 8 TBSP (1 stick) unsalted butter, room temperature
- 1/3 c. baker's (fine) sugar
- 2 large egg yolks
- 1 Tbsp. bourbon
- 1 tsp. vanilla extract
- 1 cup Dulce de Leche*, at room temperature (*see note below)
- Powdered sugar, for dusting (optional)
- Sprinkles and/or toasted coconut flakes (optional)
TOOLS
- Rimmed baking sheets
- Silpat mat or parchment paper
- Stand mixer
- Mixing bowl
- Silicone spatula
- Measuring cups and spoons
- Whisk
- Plastic wrap
- Bowl scraper
- Rolling pin
- Wire cooling rack
- Piping bag (w/coupler)
- 3/8" pastry tip
- Basketweave tip (optional)
- 2" round cutter
FIX
- Combine cornstarch, ap flour, baking powder, baking soda, and salt in mixing bowl. Whisk together all ingredients and set aside.
- Beat butter and sugar on medium speed in the bowl of your stand mixer using the paddle attachment for about 3 minutes. Stop mixer and scrape down sides of bowl with your spatula at least once. The mixture should be light and fluffy after 3 minutes. If not, continue beating until it is.
- Add egg yolks, bourbon, and vanilla to butter-sugar mixture and beat on medium-low until incorporated, about 30 seconds. Scrape down sides of bowl using spatula. Gradually add reserved flour mixture, using the lowest speed of your mixer, and mix until just incorporated. Make sure there are no visible white pockets. Shouldn't need to beat more than 30 seconds.
- Using bowl scraper, turn dough out onto a piece of plastic wrap, shape into a disk, and wrap tightly. Place the disk in the refrigerator until firm, at least 1 hour.
- At least 10 minutes prior to removing dough from fridge, preheat oven to 350°F and move racks to middle and top. Line 2 baking sheets with silpat mats or parchment paper and set aside.
- Remove dough from fridge, unwrap, and place on a lightly floured work surface. Lightly flour the top of dough. Roll out to 1/4" thickness. If your dough cracks, just smooth it together with your fingers or patch in a piece of dough from the corner. Stamp out a total of 30 to 36 rounds using your 2" round cutter, rerolling dough as necessary until it is all gone.
- Place cookie rounds on your prepped baking sheets, allowing at least 1/2" between each cookie round. Flash freeze sheets of cookies for 20 minutes (this will help the cookie hold its shape). Transfer to oven and bake both sheets, rotating top to bottom and back to front halfway through baking. Bake until cookies are firm and pale golden on the bottom, about 12 to 14 minutes. Cool cookies on wire rack.
- Meanwhile, transfer a little over half of the dulce de leche to a pastry piping bag fitted with a 3/8" tip. When cookies are completely cool, flip half over and pipe on the dulce de leche. Gently place second cookie on top of the dulce de leche half and press lightly to form sandwich.
- Optional: When all cookies have been sandwiched, remove 3/8" tip and replace with basketweave tip, fill bag with remaining dulce de leche and pipe around each sandwich filling with weave side down (flat side out). Roll each cookie in sprinkles, toasted coconut flakes, or your desired adornment. Dust each cookie top with powdered sugar.
- Serve with coffee and enjoy or package and gift!
*Note: To make your own dulce de leche, preheat oven to 425°F. Empty the contents of 1 14 oz. can of condensed milk into an oven-proof dish and sprinkle with a pinch or two of flake salt. Cover the dish tightly with foil and place into a roasting pan (or something similar and large enough to create a water bath). Create water bath and bake for 60-90 minutes, checking on milk and stirring every 30 minutes, while also monitoring the water level of the bath and refilling as necessary. The dulce de leche is done when it is brown and has a similar texture to caramel. When color is achieved, remove from oven and whisk until smooth. Let cool completely before using.